


We've seen tons of bakers transition from traditional yeast to sourdough starters over the last year. Both have benefits and can create great bread, but we thought we'd share some of our favorite tips on sourdough starters for those who are beginning this sourdough adventure! There's a lot to learn and these are just a few tips to get you going, but check out the links at the bottom of the article to hear from some of our favorite bakers about their best practices!
1) Ingredients
Using a Super Sprout™ Sprouted Flour from Lindley Mills can get your starter going faster than most other flours. This is because of the high level of enzymatic activity and availability of food for the yeast. You’ll also want to use distilled water or well water-something that hasn’t been chlorinated. Also consider the temperature of your ingredients. You don’t want anything over 110 degrees F, which would kill your yeast, but as long as you are under that, the warmer the better for a faster starter.
2) Timing
You’ll want to get things going when you have time to feed your starter and monitor it periodically, at least every 8-10 hours. It’s easy to miss a “peak” and not know that you need to feed your starter until it’s too late. Placing a rubberband around the container or marking the container with a piece of tape can also help you see when your starter is growing. Keep note of how often you need to feed it to keep it ready to bake with when you need it.
3) Temperature
You want to keep your starter mostly covered (so you don’t develop a hard crust on top of the starter) and in a warm place. Starters are easier to start in the summer when temps are higher and more microbes are moving around. If you are making one in the winter, or the one you have is sluggish, try keeping it on top of the fridge or next to the oven-any place you have that is warmer than the rest of your house.
4) The Float Test
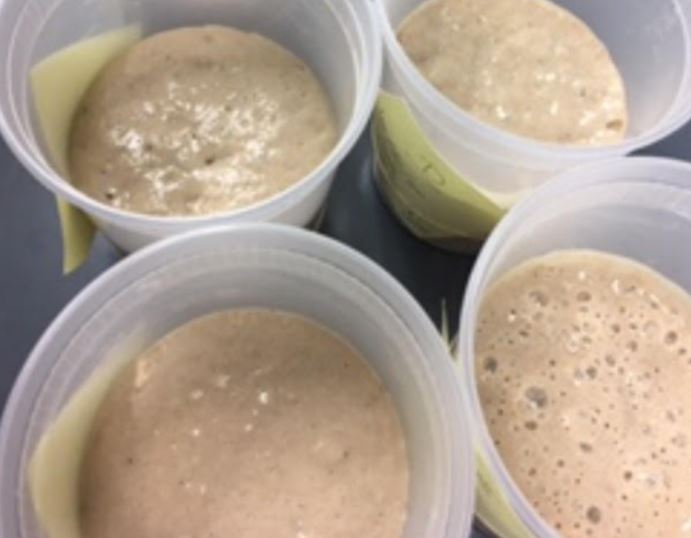
This is how you will know that your starter is ready. Once it is doubling in size regularly, you should see some bubbling activity. When you can scoop out about a teaspoon and gently drop that into a cup of water and watch it float, you are ready to bake. This is commonly called the float test and when used regularly, can help you to understand the rythyms of your starter. You'll know when it’s strongest and when it needs to be fed again. Don’t stir it before gathering your “sample” to drop in the water. Just skim some off the top and drop it in gently without degassing your "sample", if it’s ready there will be no question about how well it floats.
5) Maintaining a starter can be a lot of work
Instead of feeding it everyday or even multiple times a day, you can easily keep it in the fridge to pull out the night before you want to bake. As long as you check in on it once or twice a week and feed it, you should be able to keep it going. Don’t use a starter that has mold on it or in the container and make sure to always place the new starter in a sanitized container after feeding it. If it’s a bit sluggish, put some Super Sprout™ Rye in it to wake it up and get it going again. If you don’t want a rye starter all the time, just go back to feeding it normally with any flour after that and that will dilute the rye and change it back to your normal flour.
Bonus Tip
Starters can be fed at different times and with different flours to change the lactic and acetic acid inside them. The balance of these and the flours in the mix and the timing on the feeding, temperature, and hydration help influence how sour (or not) your sourdough is. Play around with what you feed them and how often to get different flavors from your bread.
Want to know more? Here are some good resources for how to create a sourdough starter and incorporate them into your baking!
- Peter Reinhart Bread Revolution
- The Perfect Loaf: Guides (tons of guides on making, maintaining, and baking with a starter)
- Full Proof Baking Video: How To Make A Starter